Framing Your Prints
Check this out if you want me to frame for you and you can pick up from my Denver-area studio. Otherwise, read on!
Finding art that you love = fun! Framing it? Less fun, but SO important. Here are my tips for framing my prints so that they can live their best life in your space.
DISCLAIMER : **The following content just outlines my own opinions and preferences. If you love intricate frames with lots of colors and mats, you do you! At the end of the day, it’s your space and everyone’s taste is different. I’m just laying out suggestions for what I think are the framing styles that best feature my work**
My Framing Philosophy
Framing your art well is just as important as finding the right piece of art. Some key points:
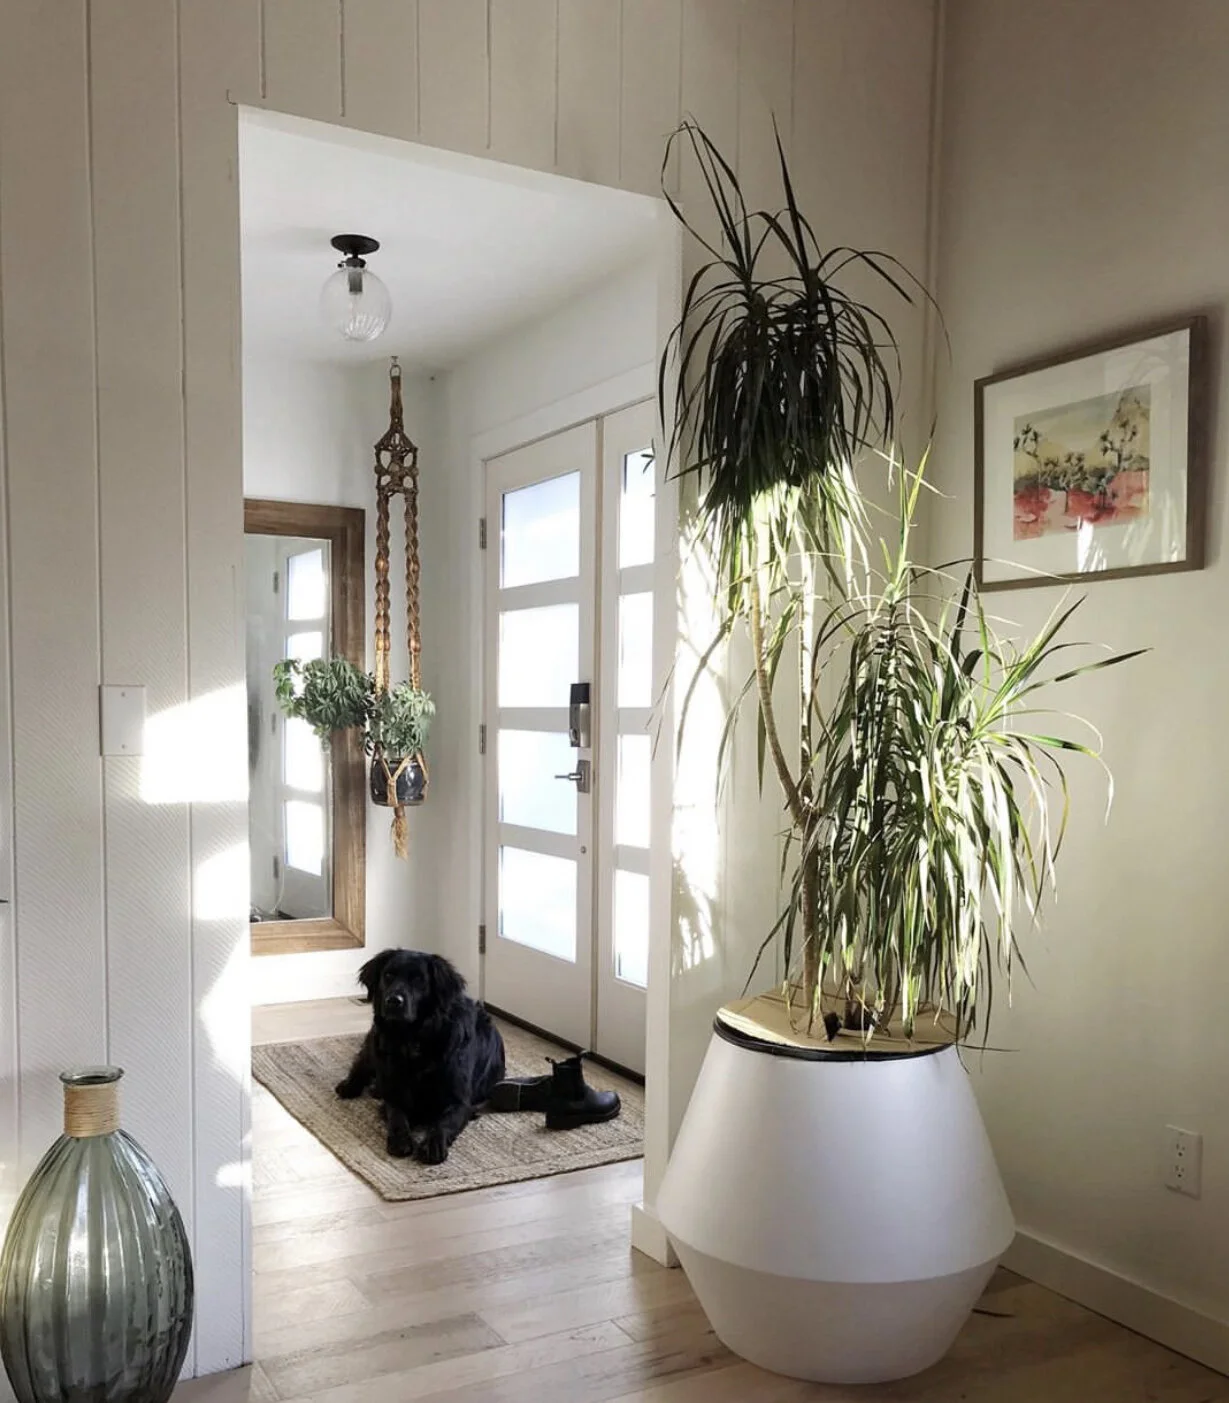
Framing is half the battle. When it comes to the overall success of a framed print in your space, the framing is just as important as the print. If you can afford to frame your print with high quality materials (eg. hardwood, glass, a nice clean mat) vs. a cheap plastic poster frame with a plexiglass front, do it. A beautifully framed print is a piece of fine art, a poorly framed print is… a poor piece of art.
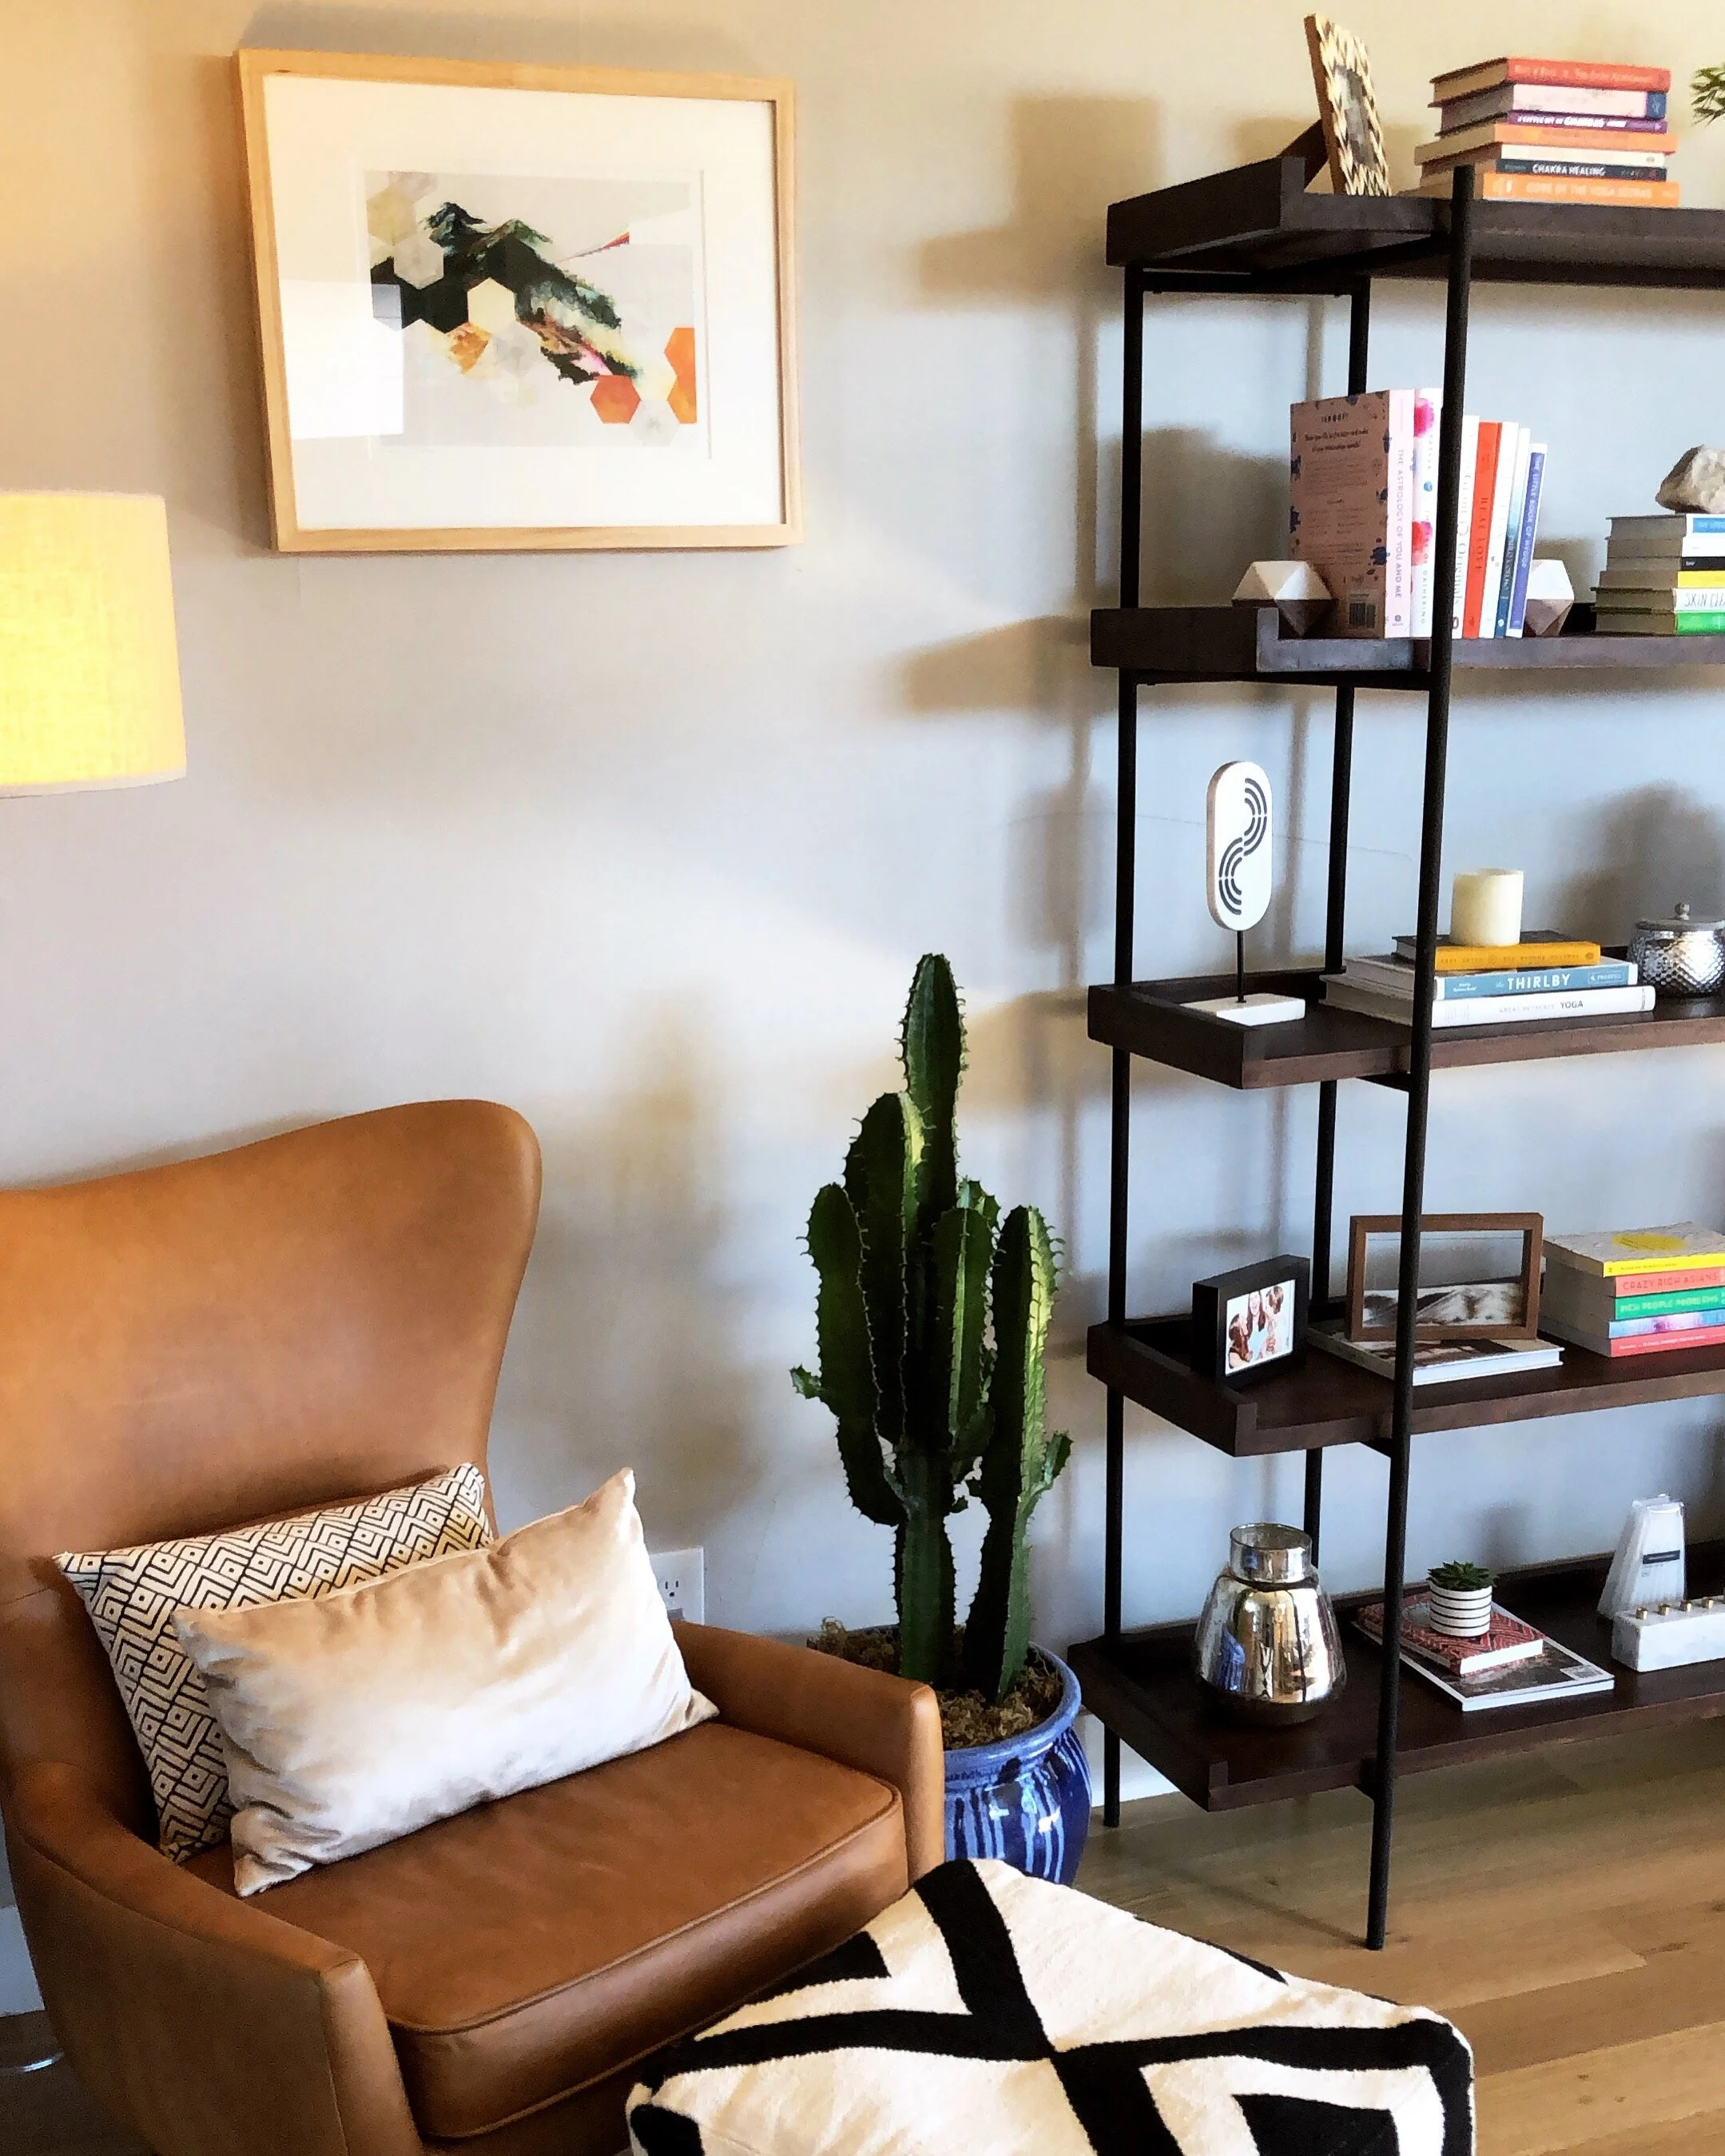
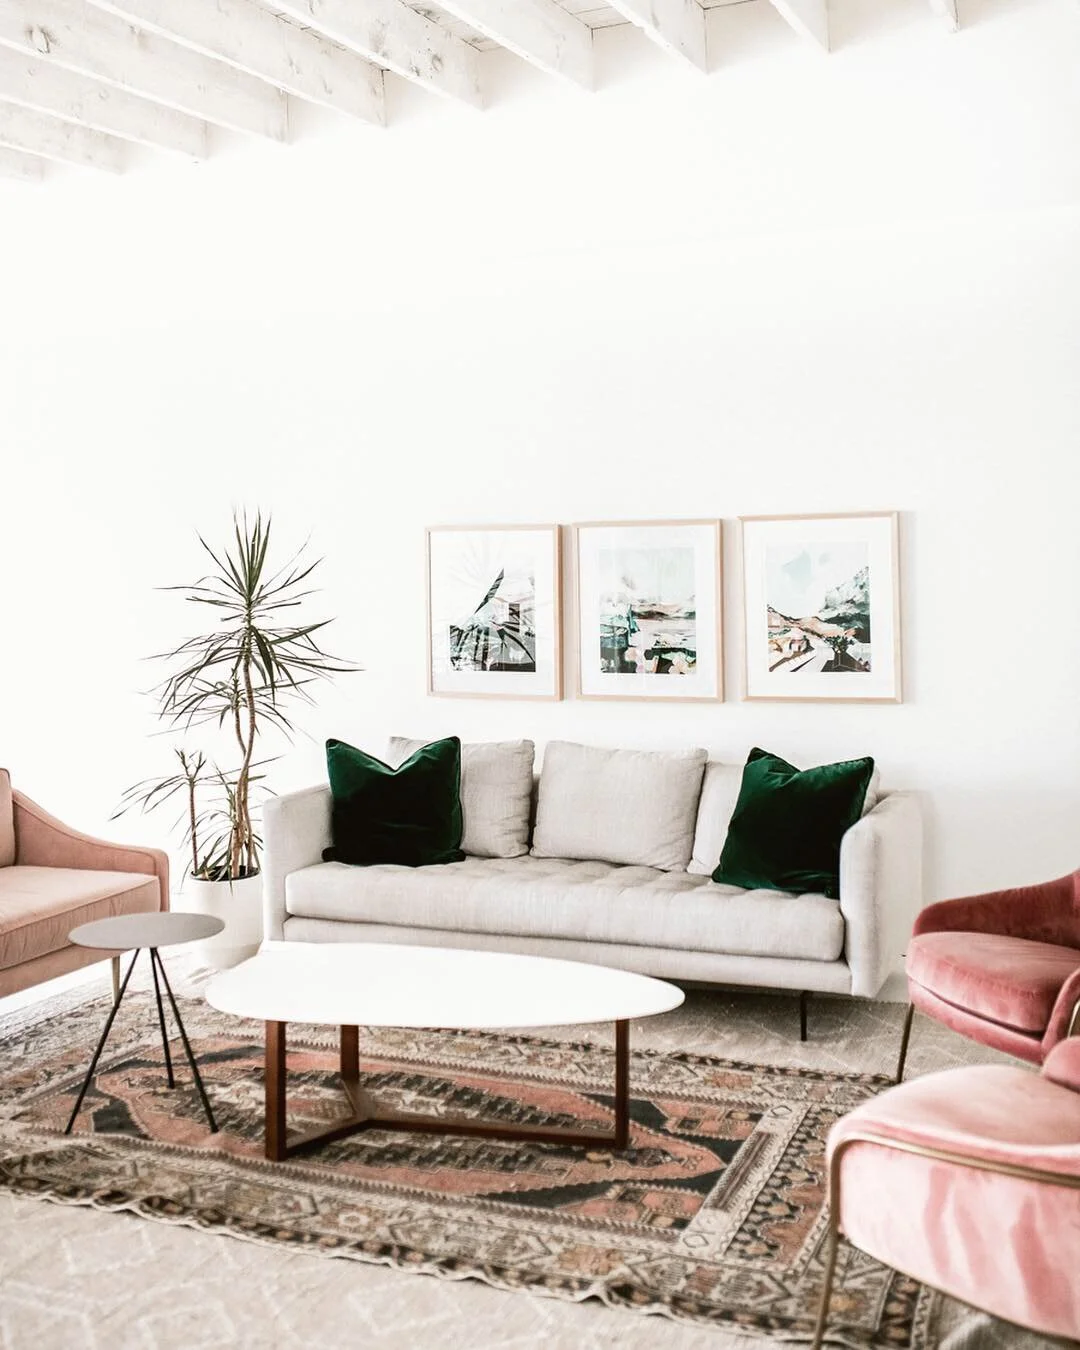
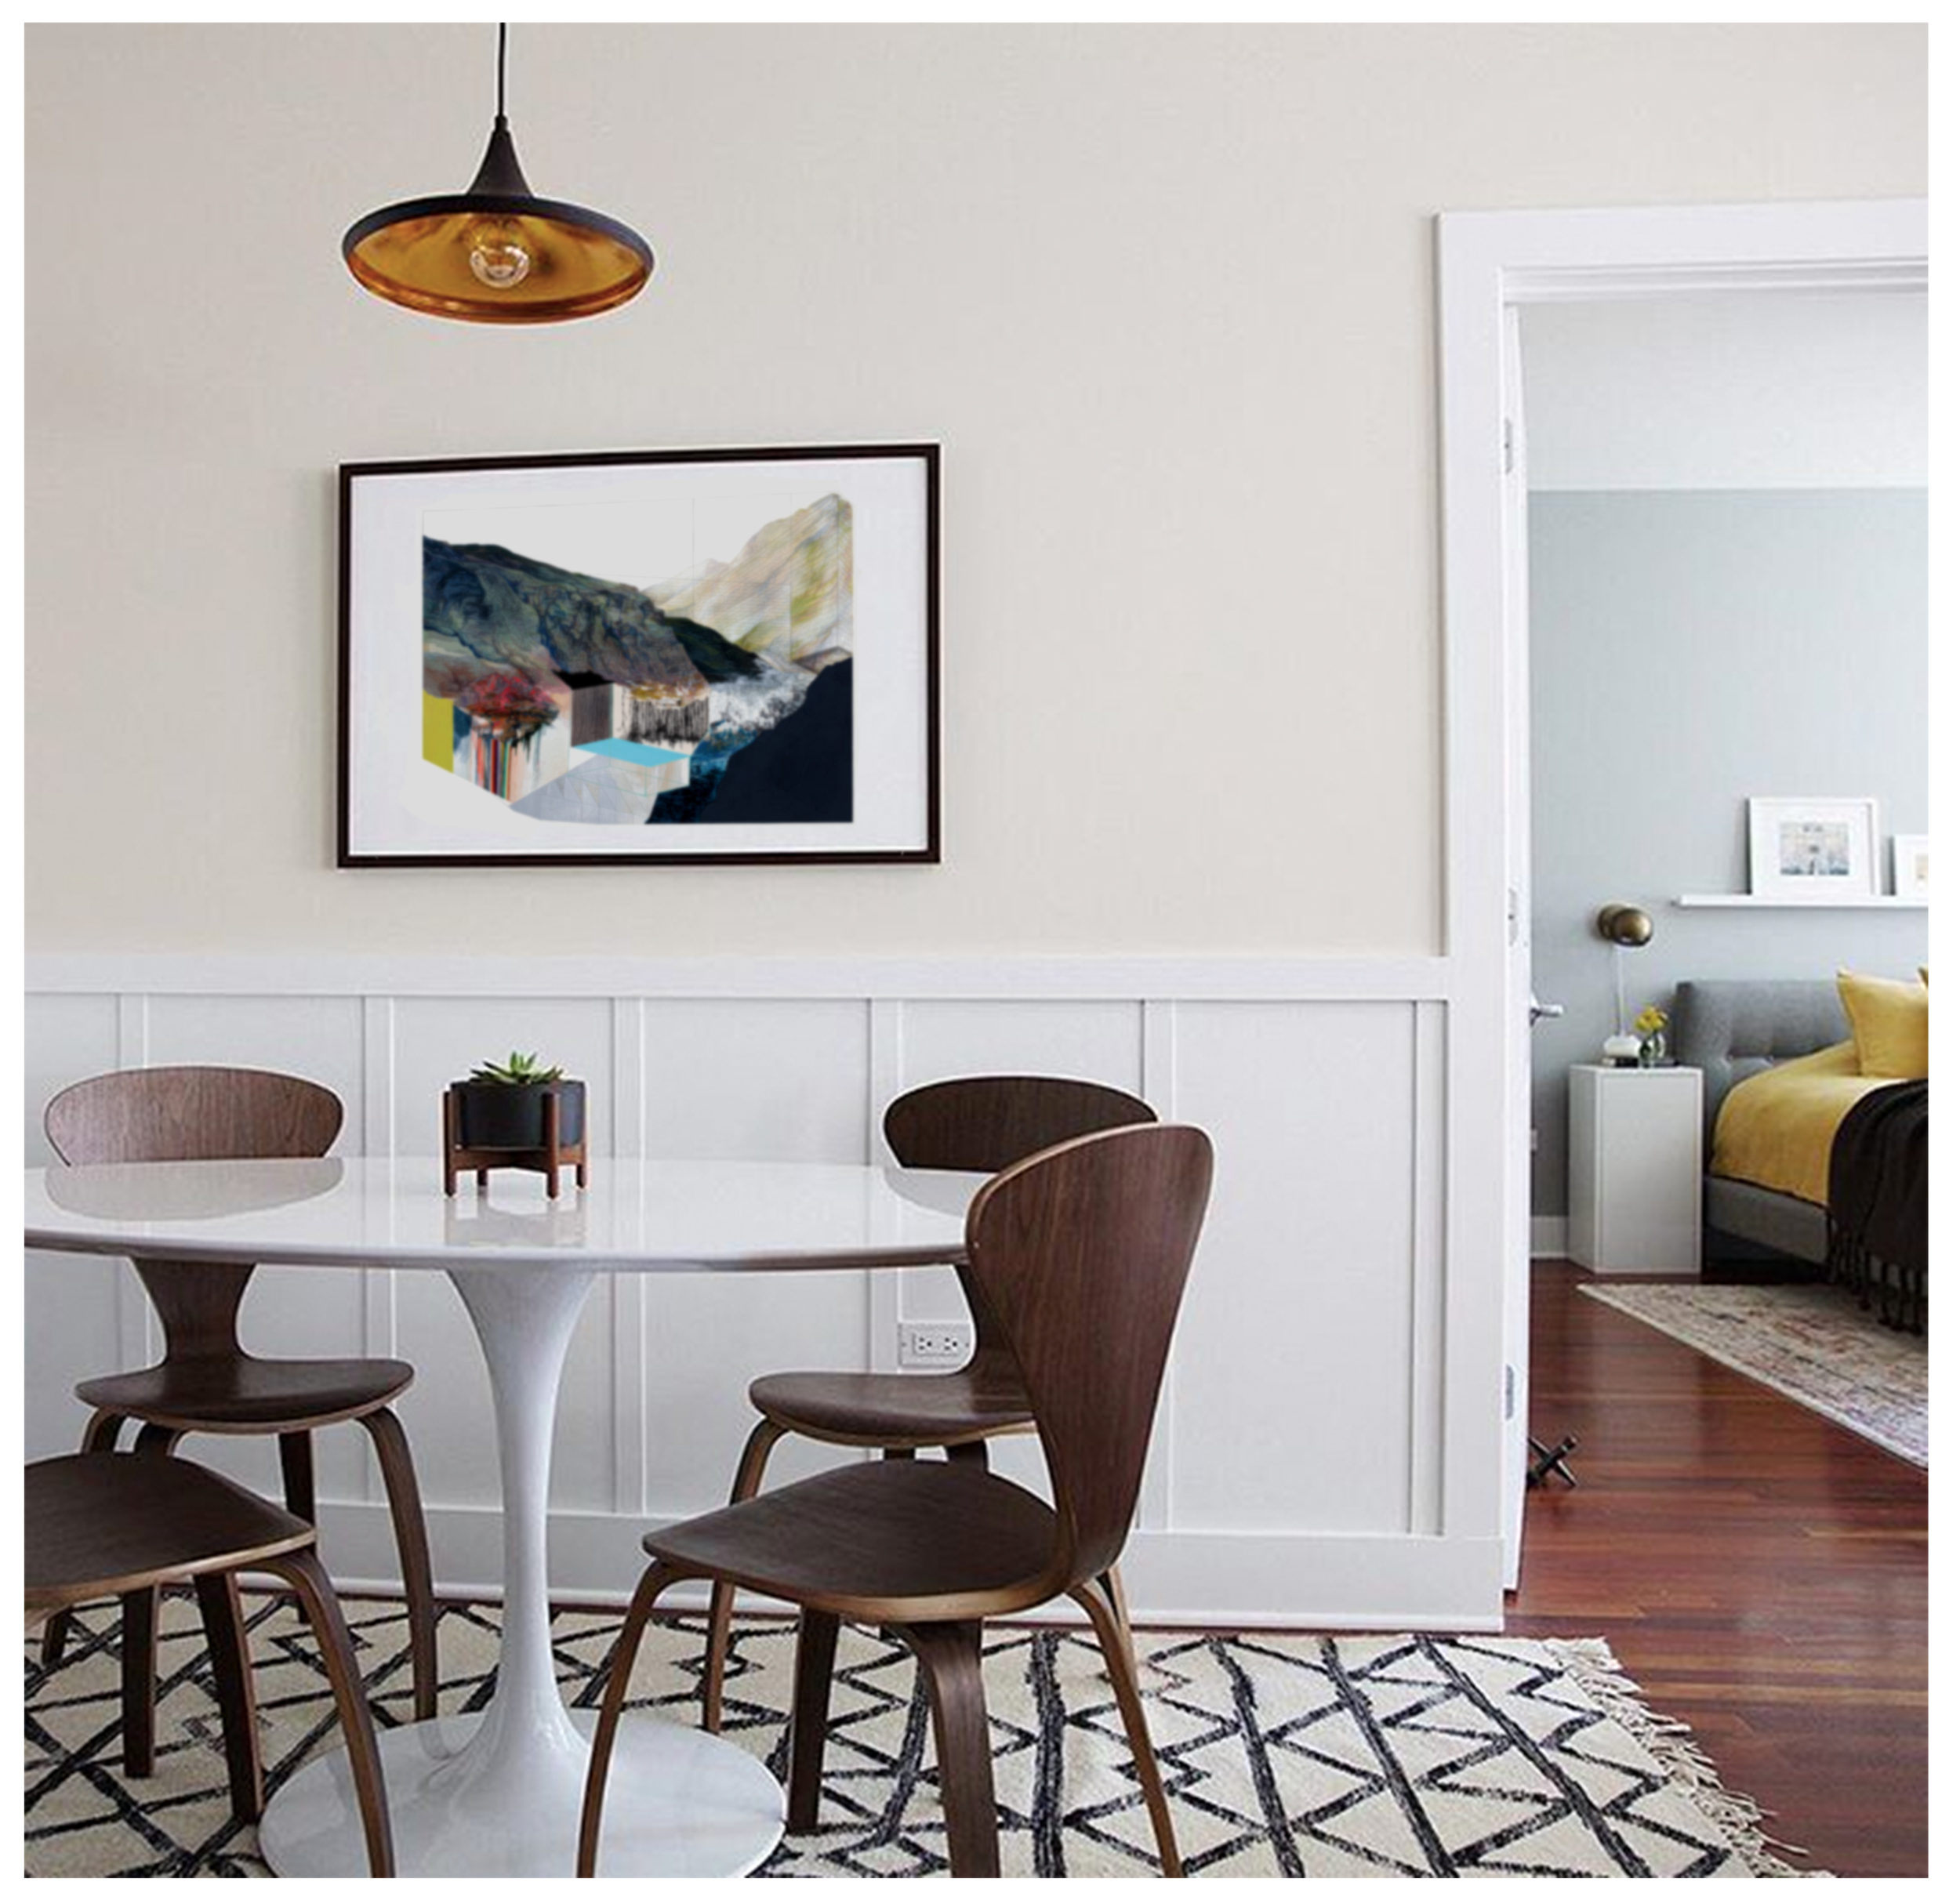
The cleaner & classier the better. If you look around at contemporary paper works in galleries, most galleries opt for simple frames made of high quality materials. Why? Because the frame serves to highlight the ART piece, not the frame. This is just my opinion, but I highly suggest skipping the multi-mats, the boldly colored mats, the colored bevels, the frames with lots of decorative elements. I put a lot of effort into balancing linework / palette / composition in the artwork itself - when the frame job adds more color and additional lines it can be distracting and can ruin the balance of form that was executed in the painting.
It’s not weird that the frame costs more than the print. The raw materials for a quality frame are generally much costlier than those of the print, so it’s not strange that the framing can cost 2-3x more than the print itself. A well-framed print can look just as good as an original, so if you can afford it - don’t fear investing in a high quality frame (eg. hardwood with glass front, NOT plastic…) even though you’ve opted for the budget-friendly print over the original painting.
Huge framed prints aren’t a great idea. People ask often for huge prints when they have huge walls and don’t have the budget for an original. Like, 6 foot prints (which I don’t offer). A 6 foot print might cost a few hundred bucks, but framing will be in the many hundreds to thousands to do it right. The glass fronting alone on a 70”+ frame will be so fragile and heavy, it’s kind of silly to use all of those high quality materials on a print - if you can even find a framer to do it. I tend to suggest a series of framed prints as an alternative to a huge print to cover a larger wall space. Or save for an original if that’s an option.
Understanding the size of your print
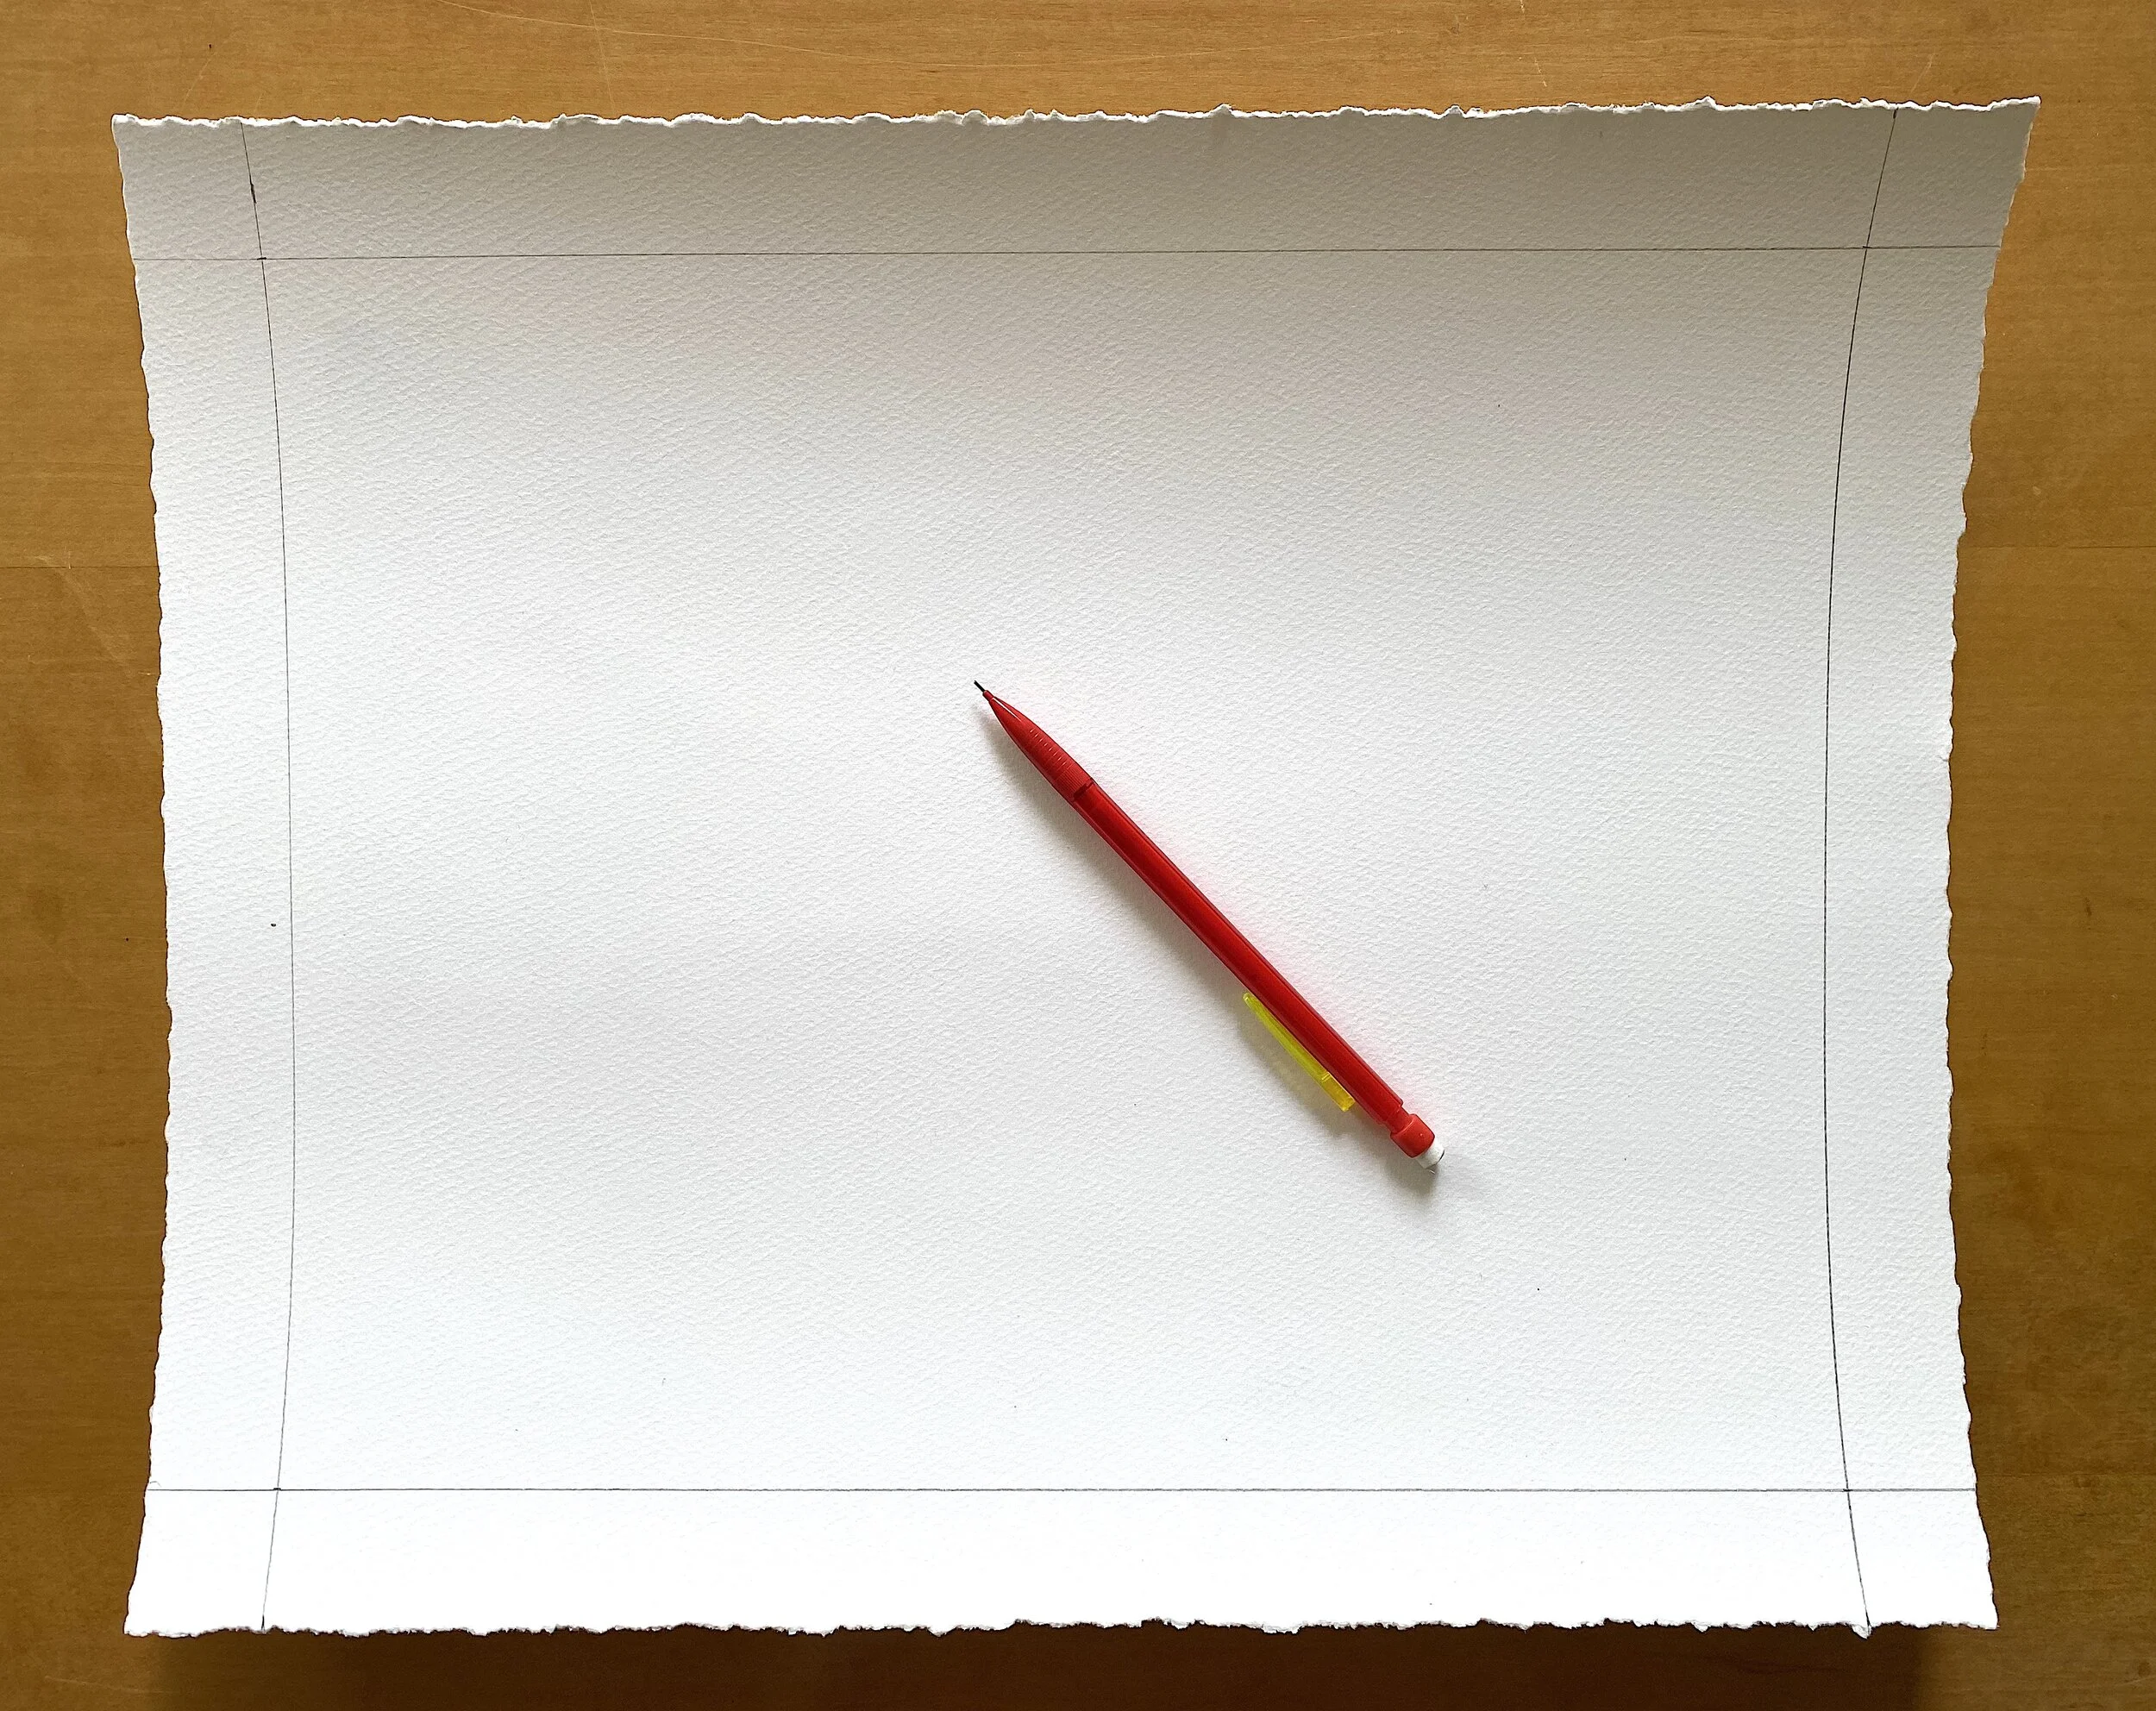
My prints come in 3 listed standard sizes: 8x10”, 11x14”, and 16x20”. The listed size actually refers to the size of the MAT that will best accommodate your print, NOT the size of the print paper or image itself. I size this way because 8x10”, 11x14”, and 16x20” are the most common sizes for matted frames in the US.
The size of the actual paper:
When you receive the print you’ll find that the paper is actually larger than the listed size. This is because I add a 1.25” white border with deckled edges to the image. The border both makes it easier to mat, and aesthetically I like the look of the border + deckled edges for float mounting. “Deckled” refers to the ripped, rough edges of the paper, and this kind of presentation is the standard in the fine art world for works on paper for float mounting, more on float mounting later. This brings the overall dimensions of the paper for a print listed as 8”x 10” to 10.5” x 12.5”.
The size of the actual image :
You will find that the image itself is SMALLER than the listed size. I size this way so that when the print is placed into a mat that matches the listed size, there is a small white border exposed around the image, and most importantly the signature/title line at the bottom is exposed.
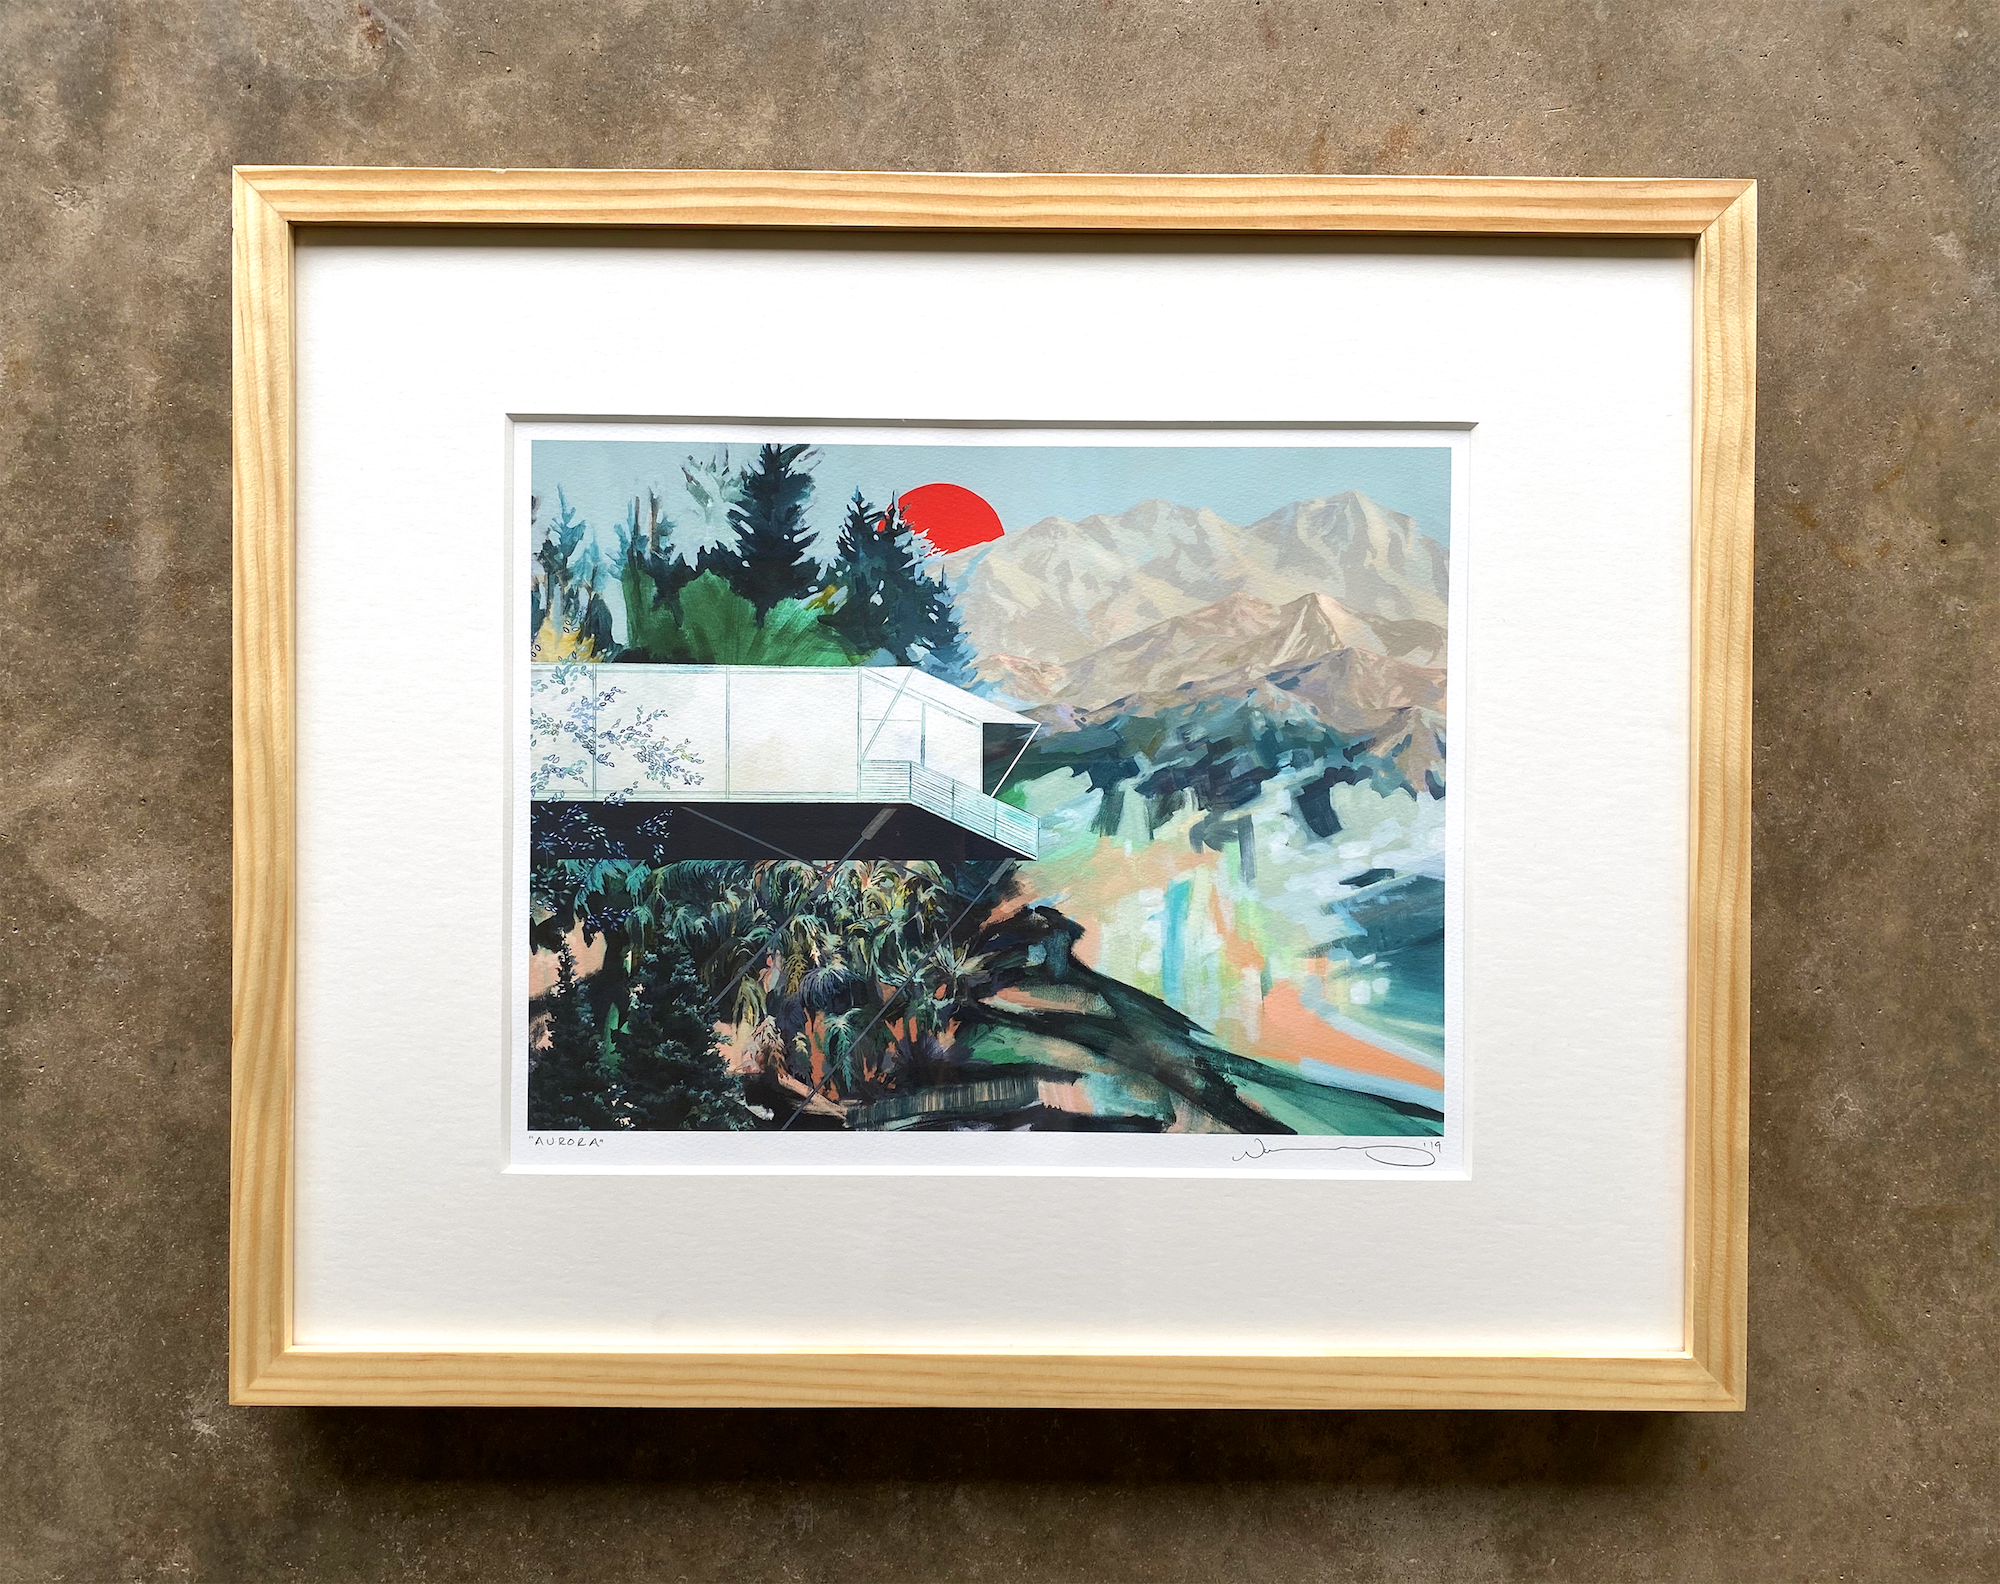
This is what your print should look like when placed in a mat that matches the size of the listed dimensions
3 ways to frame your print
There are other options, but these are my favorite.
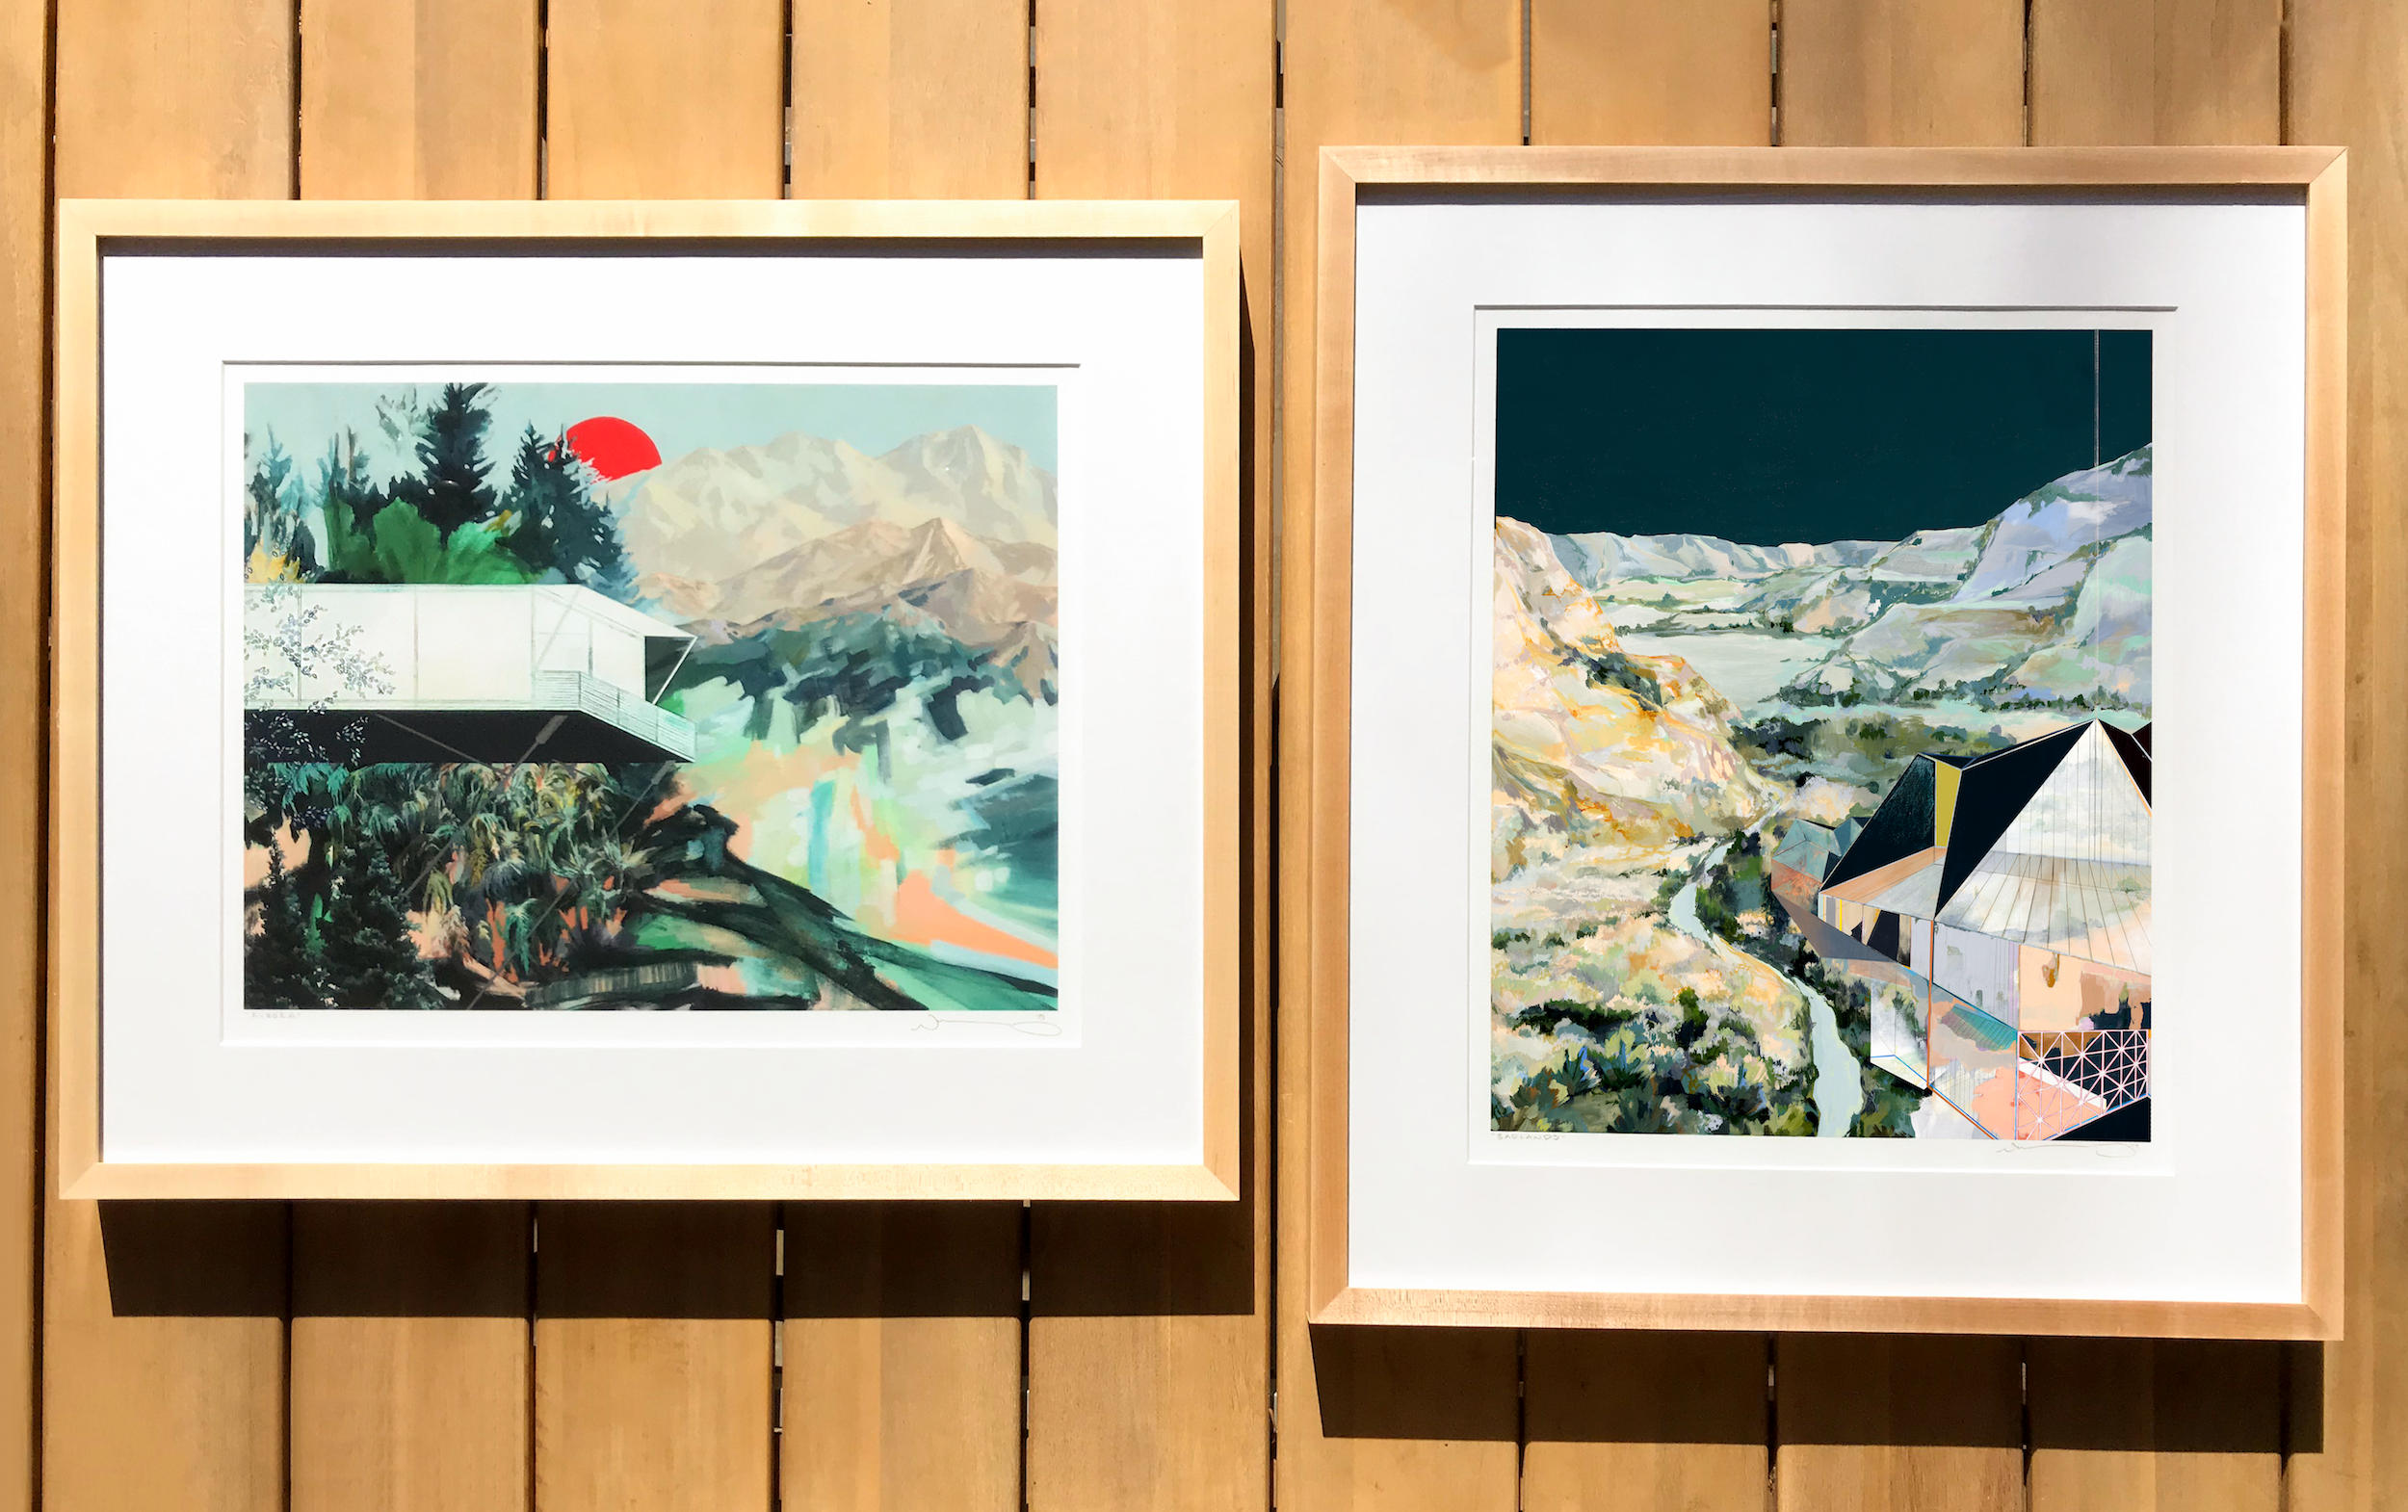
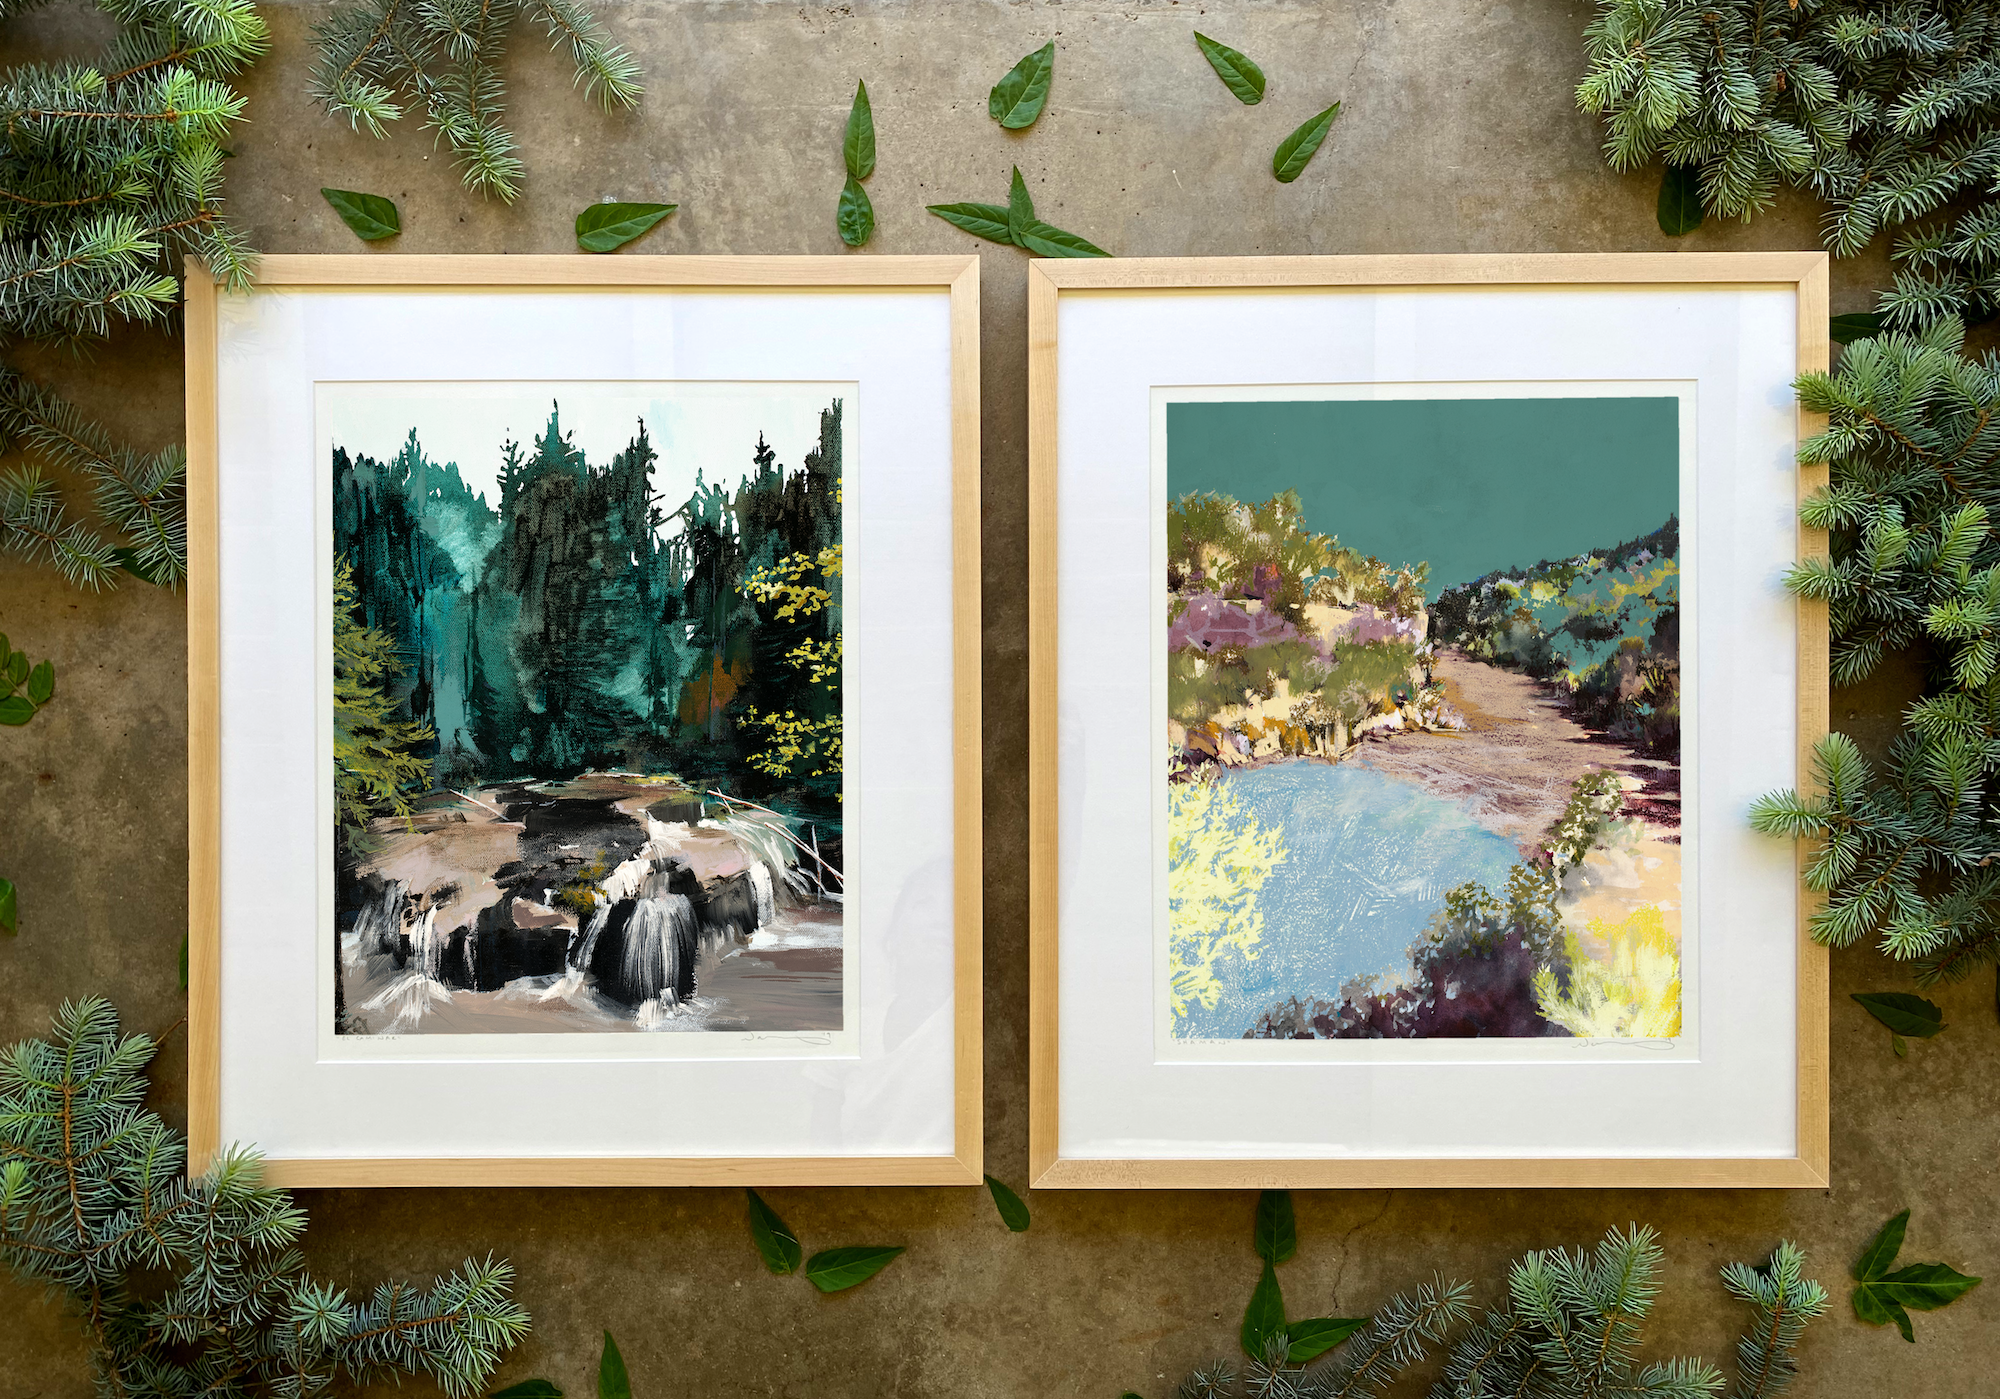
1. Matted
Difficulty level = Low
This is my favorite way to frame my prints because it’s the simplest and it looks great. It’s simple because my prints are sized perfectly for matting without removing any of the border, and any store that carries frames will host a wide selection of matted frames that match my standard print sizes. It looks great because a clean, white mat will draw the eye to the artwork, and will expand the overall wall-space the framed artwork will take up. Check out the “how to find a frame for my big print” section of my framing FAQ if you’re struggling to find a great off-the-shelf frame for your 16x20” print.
What size frames to buy:
8x10” listed print: 11x14” frame matted to 8x10”
11x14” listed print: 16x20” frame matted to 11x14”
16x20” listed print: 22x26” frame matted to 16x20”
How-to:
What you will need: Masking or framing tape
The image is shrunken down from the listed dimensions by 1/2” on the top and sides, and 3/4” on the bottom. Use tape (if you want to be archival, use framer’s tape. Otherwise masking tape works) to secure the print to the backside of the mat. If you don’t tape it down, it will migrate over time. When placing the mat over the print, make sure that #1 the mat is turned so that the bevel is revealed in the front (see image on right below) and #2 the image is centered in the mat so that the exposed white border is the same width on the top and sides, and a larger white border is exposed on the bottom to expose entire signature line. Tape all four sides of the print to the backside of the mat, working out any bubbles / bending of the print so that is taped as flatly as possible to the back of the mat. Avoid bubbles/wrinkles in your tape. Place in frame behind the glass/plexiglass front and get it up on that wall!
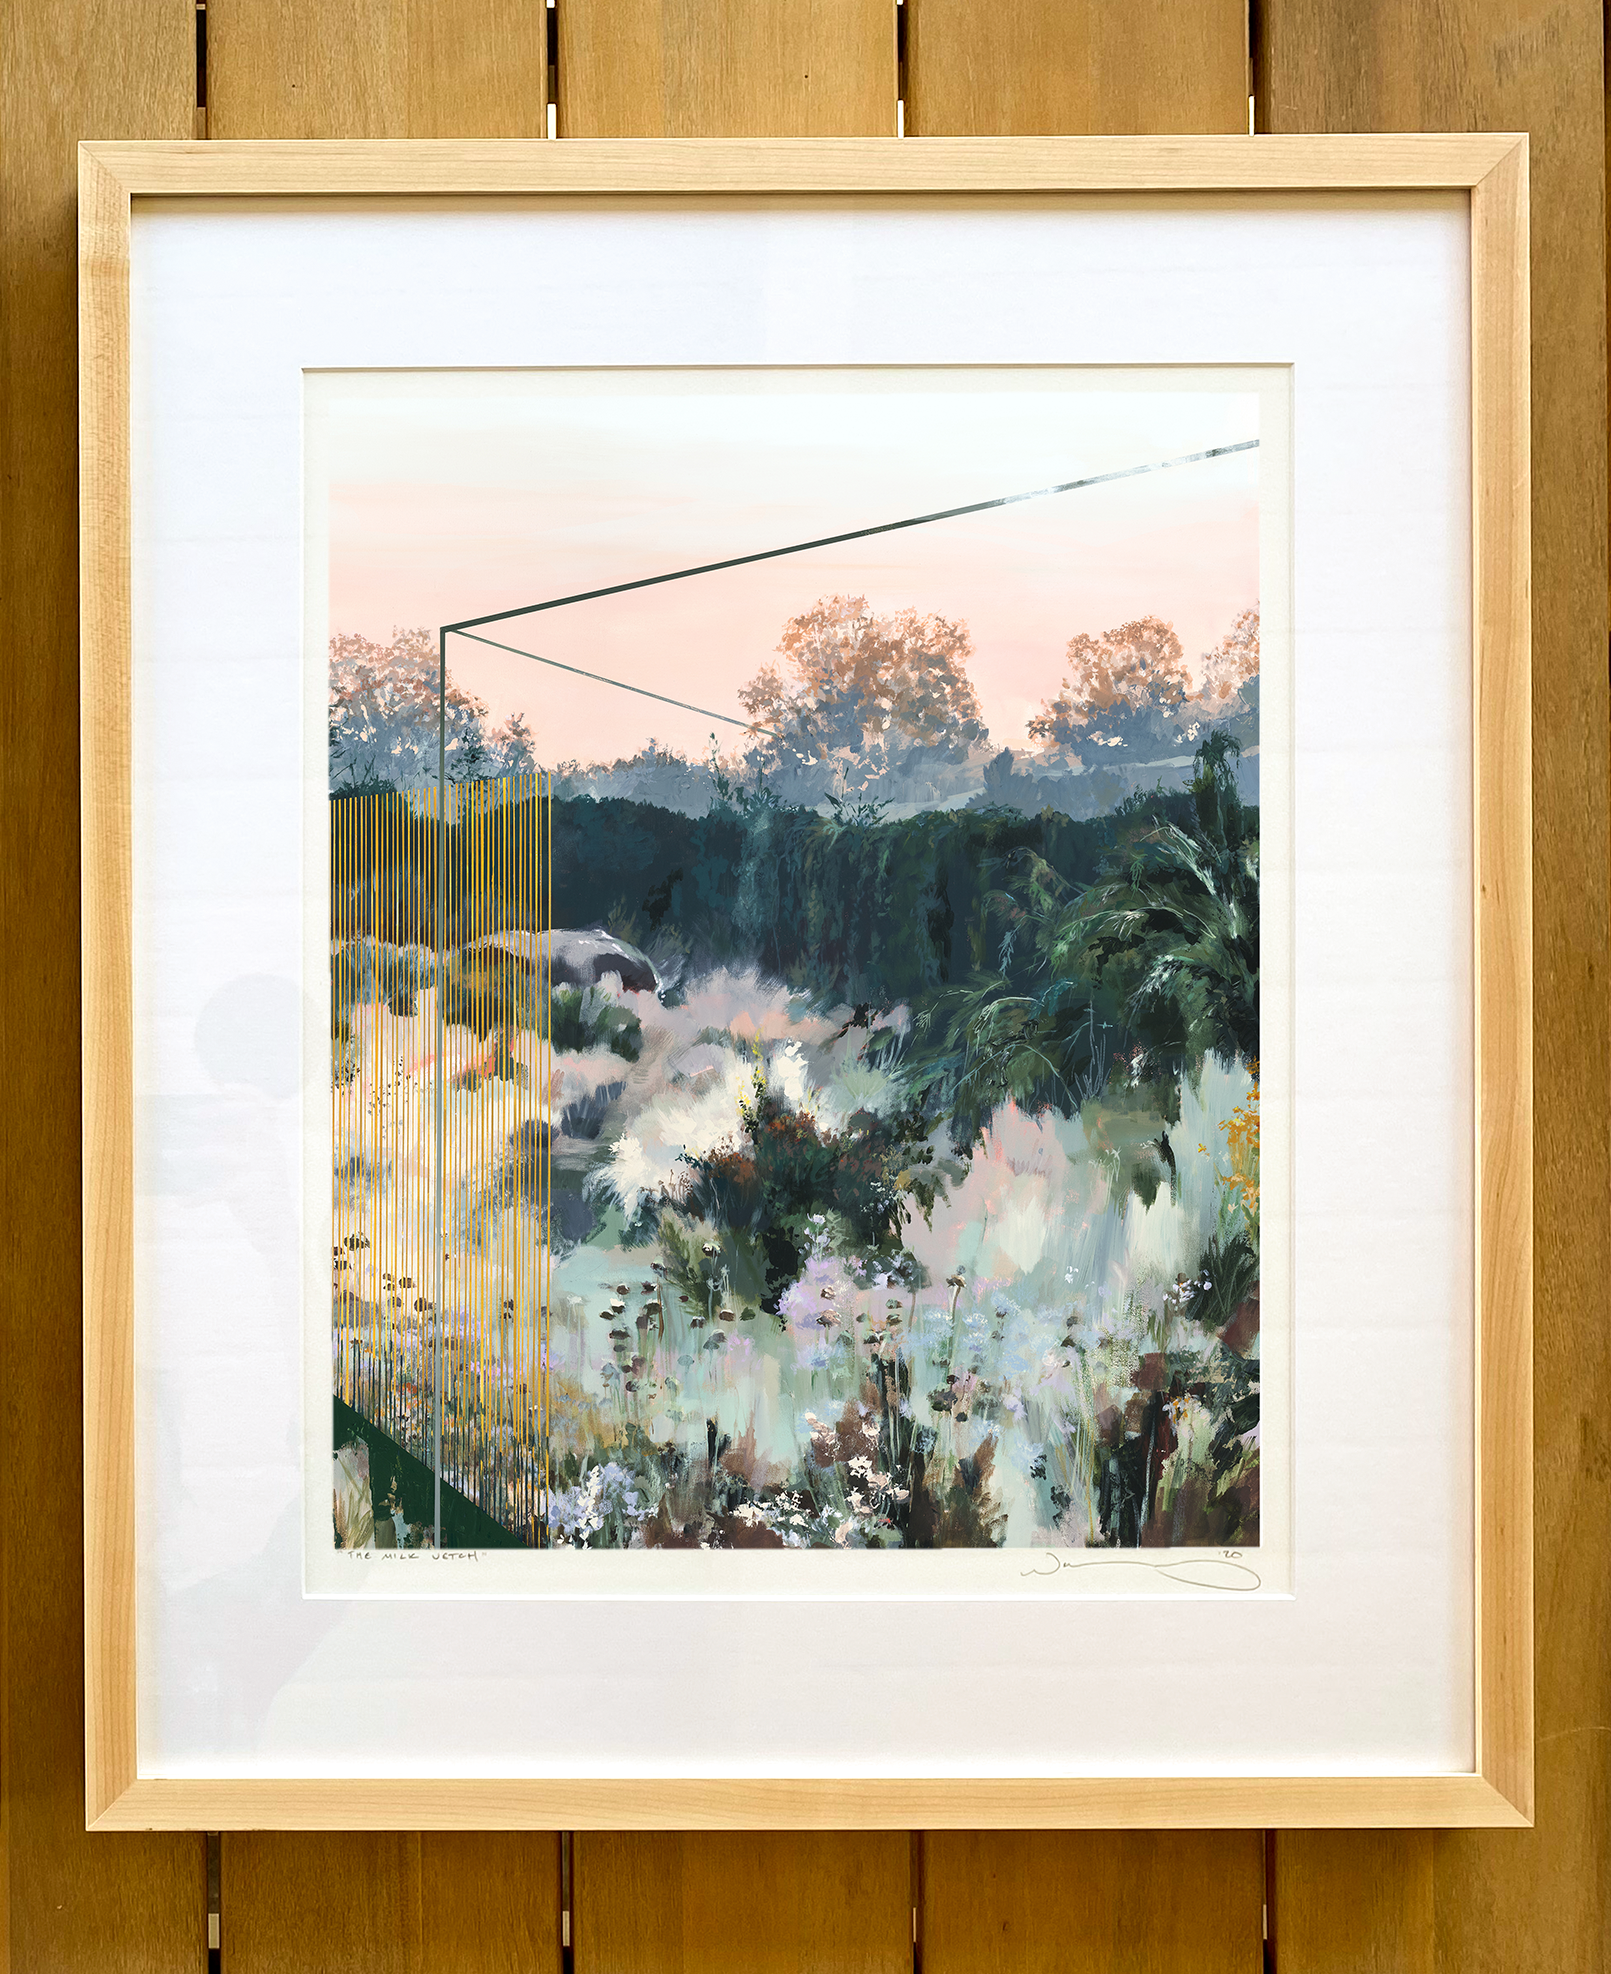
A perfectly matted and framed print.
Ensure that mat is bevel-side up. You should see the bevel!
2. NO mat
Difficulty level = Moderate
This is not my preferred way to frame because I like the look of a mat, but some people hate mats and you do you. The only thing that makes this more difficult for my prints is that some of the print border will need to be removed.
What size frames to buy:
8x10” listed print: 8x10” frame, no mat
11x14” listed print: 11x14” frame, no mat
16x20” listed print: 16x20” frame, no mat
How-to:
What you will need: Ruler, pencil, scissors
Follow the steps outlined with images below to remove the amount of border needed for your print to fit perfectly in your unmatted frame.
**Note that the paper in the images is square, it just has a slight bend to it from the paper roll it came off of from my print dude:
Step 1: Find a clean surface and place your new print in all of its bordered glory on it.
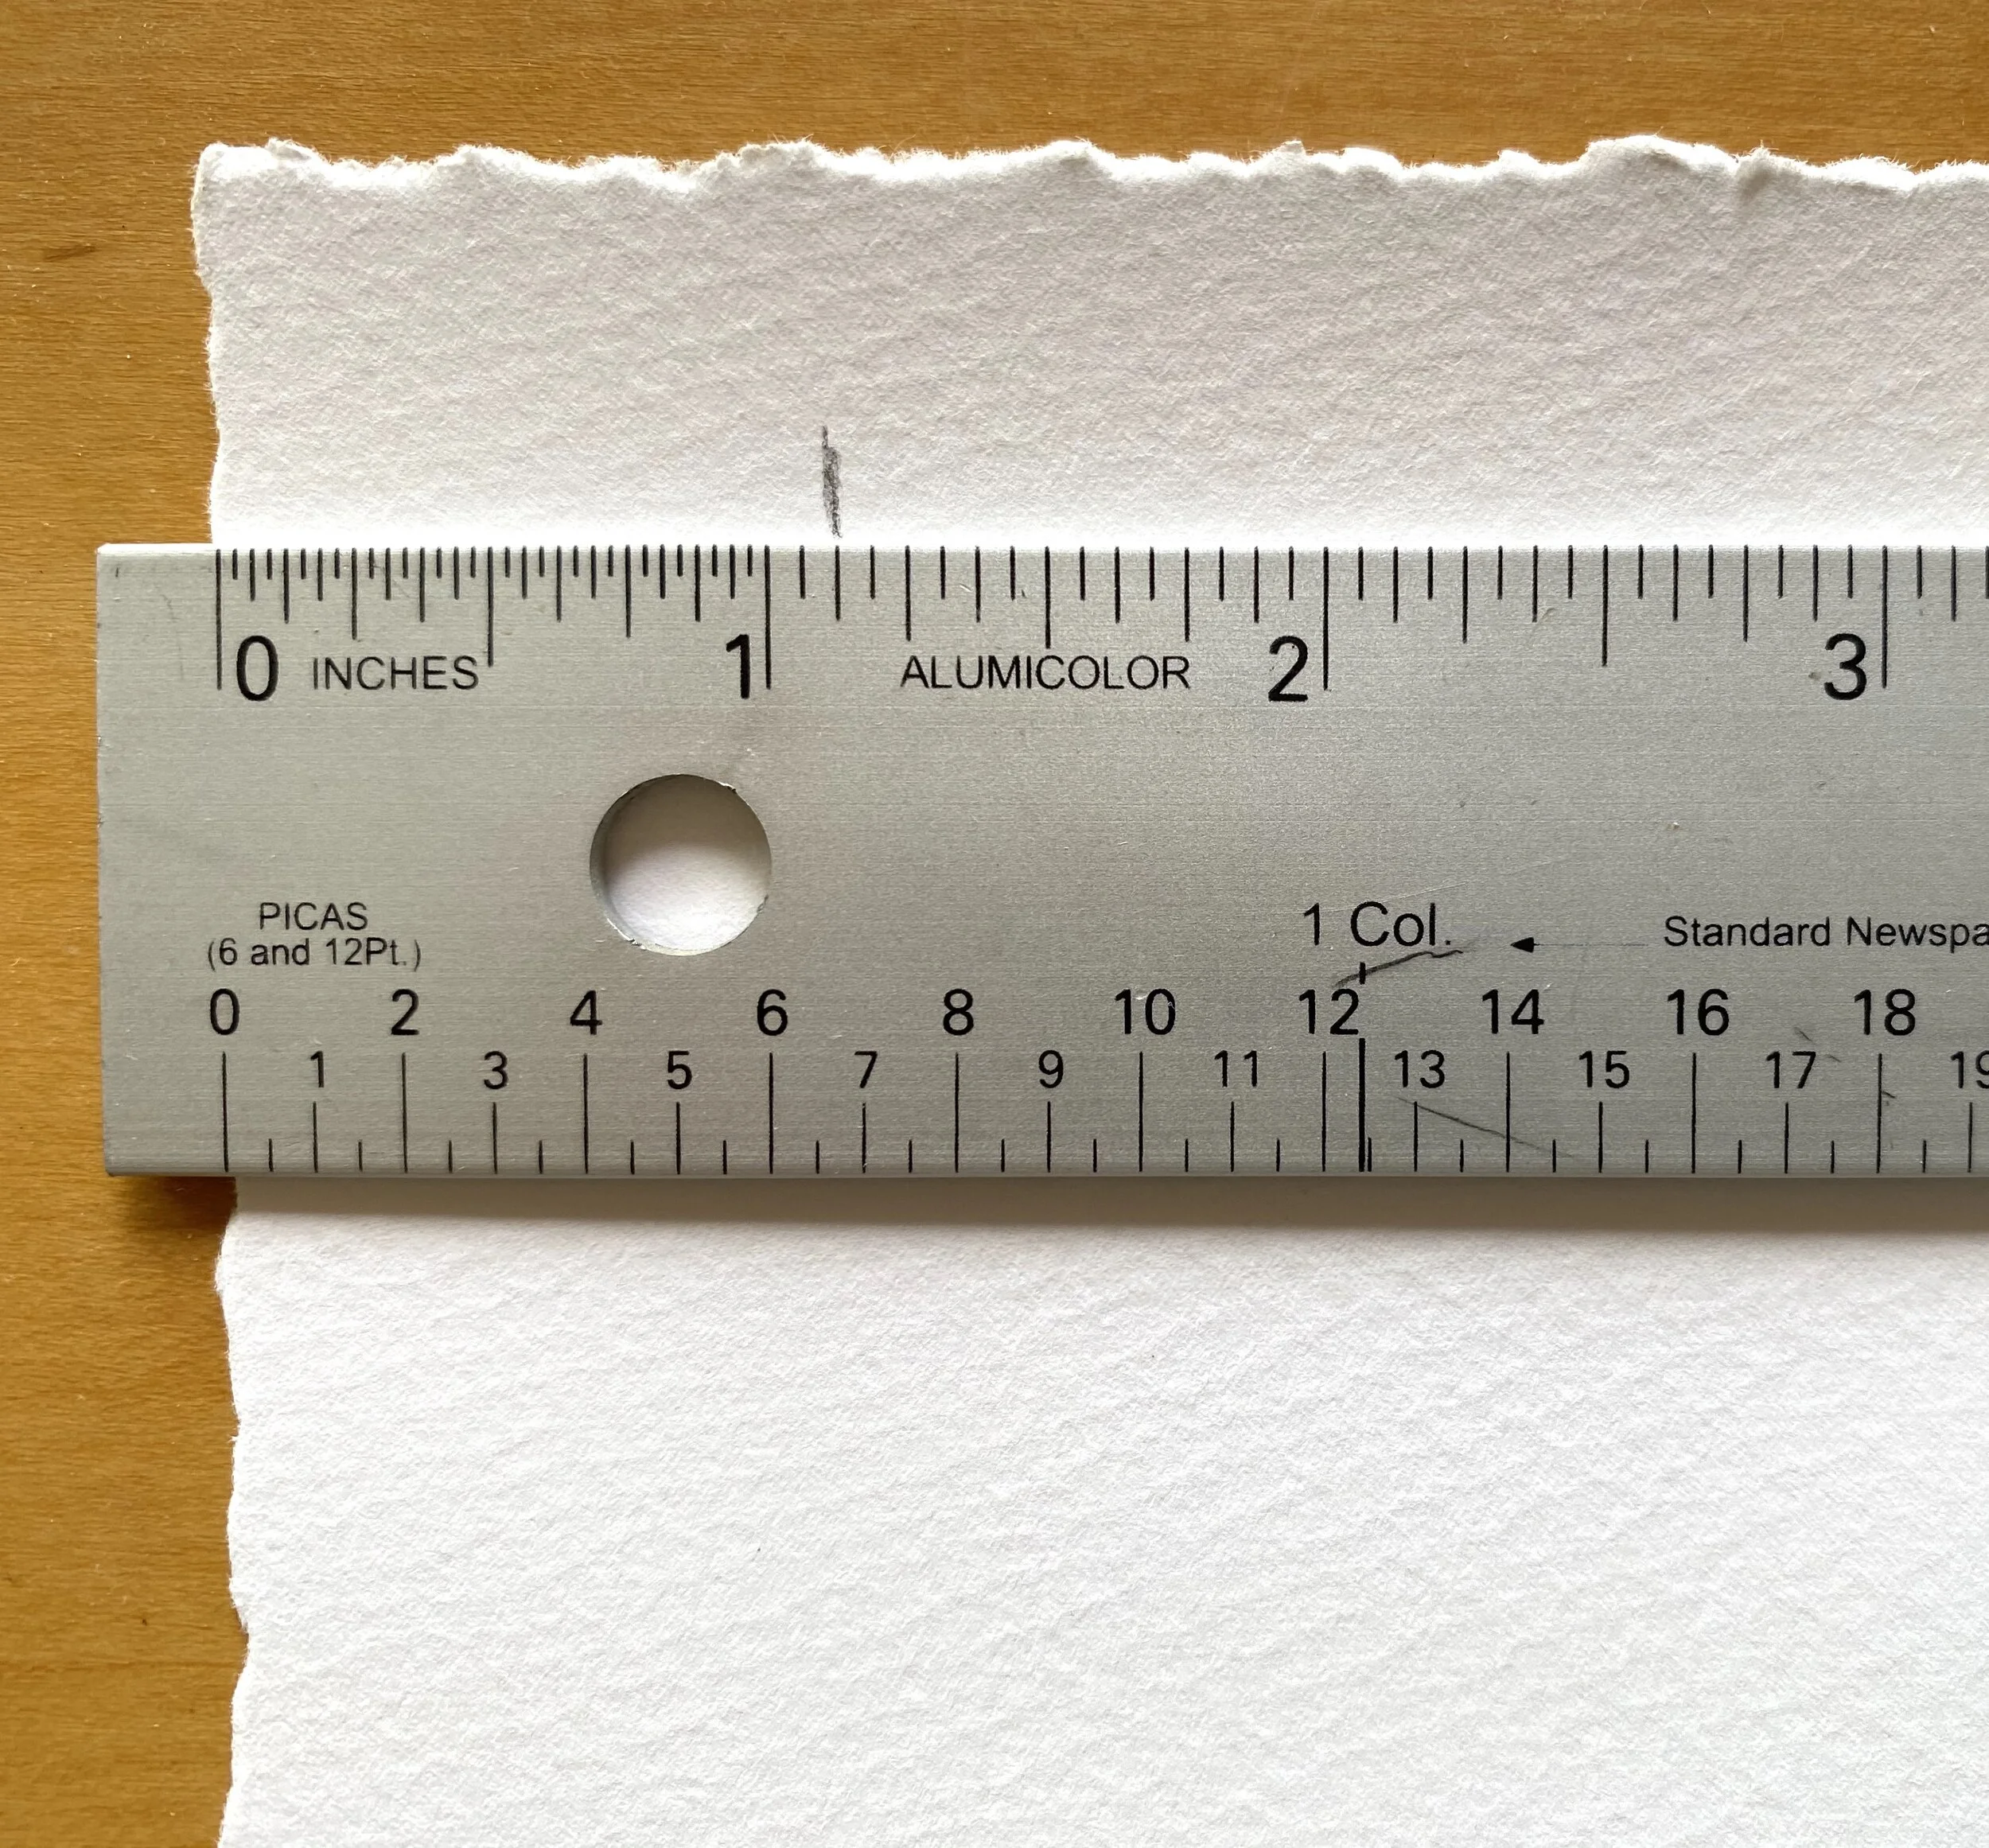
Step 2: Turn the print over so that the blank backside is up. With a ruler, measure 1 1/8” in from each corner side and make a pencil mark.
Step 3: With your ruler, draw a straight line connecting each side’s marks so that you have made a square 1 1/8” smaller on each side.
Step 4: Use scissors to cut the full length of the lines you drew in step 3. If you’re skilled, you can use the side of a ruler to rip them off and maintain deckled edges. Flip it over and admire your new, smaller print. It will still have a border around it because the image is smaller than the listed size so that you’ll still see the signature line when framed.

Step 5: Place in your frame with the glass/plexi front facing outward and secure the back. Then, get that thing on the wall!
3. Float mounted
Difficulty level = High
Float mounting elevates the final framed product to pro-status. It shows off the deckled edges and adds additional dimension. I float mount all of my originals on paper because it looks great and this is the standard for gallery-quality works on paper. In addition, it is better for the long term health of the artwork because when done correctly the artwork should NOT be touching the glass. I really never float mount my prints because it’s a pain. But you CAN float a print and show off those deckled edges if you want to!
**DISCLAIMER about float-mounting prints: I use high quality fine art paper for printmaking. BUT, it is nowhere near as thick as the 400lb watercolor paper I paint originals on. For that reason, it is very unlikely that your professional framer can achieve a float-mount on your print without some wavering in the paper. I usually see this in one of two forms:
If your framer uses an adhesive that contains a lot of moisture, the paper itself can warp where the adhesive was applied. This is just what happens when thinner papers get wet.
It is common to see wavering around the edges of the print. Usually this is because the foam-core or similar surface that the print was adhered to for the float must be cut smaller than the print itself, so there is space around the perimeter of the adhered board for the print to bend back towards the mat board on the very bottom. This happens with thinner papers like printmaking papers simply because it is not thick enough to maintain a flat surface on it’s own when floated.
A perfectly float mounted painting
See that shadow under the art? That’s there because there is foam core between the painting and the matboard underneath.
PSA: Float mounting IS NOT just putting your artwork on top of the mat and slapping it in the frame. Float mounting IS adhering the artwork to foam core or some other elevated material, adhering that to mat or backboard, and attaching spacers to your glass so that the floated artwork is NOT actually touching the glass. There’s nothing wrong with slapping the print on top of the mat if you want to go this route (I even do this with small original studies sometimes), just understand that this is not float mounting and does little to feature the deckled edges of the work because you don’t get the shadow/dimensionality. Also, not properly floating can compromise the artwork if it’s original because the paint can adhere to the glass fronting over time and even be pulled off of the paper if you ever remove it.
How-to:
In general I like to float mount on top of white, uncut mat board, leaving a ~1.5” gap between the artwork and the frame. Your framer can do this! I’m not going to lay out the steps here because I suggest using a professional frame company if you want to go this route.
If you’re in Denver, I recommend Mile High Framing for the job. Their prices are super reasonable and they do a good job.
If you’re not in Denver, any good framer can do this. Another option: Framebridge.com also has very reasonable pricing, they are online, and they do have a float mounting option.
Framing materials & resources
I like to stick to light wood frames. I choose light wood because I simply think that looks the best with most of my work, and in most people’s spaces. Maple is my favorite. Other woods that work well for this style are pine, oak, or even bamboo for smaller frames. I prefer wood over black, but clean black or white can look great with the right piece / in the right space. My general rule of thumb is to avoid framing in black if there isn’t black in the print. I have also seen clean metal (eg. brushed gold), and wood frames with a single bevel looking great on my work. If you can pick up from my Denver-area studio and you want me to frame for you, check this webpage out for pricing and details. I build most of my own frames, so I don’t have a huge list of resources for where to buy them, but here are some suggestions if you want to frame it yourself:
For smaller prints:
Some of West Elm’s frames are great. For 8x10” and 11x14” prints they have a selection of frames that will work well. Room & Board (my favorite furniture company) also has some nice wood frames for 8x10” and 11x14” prints.
Your friendly neighborhood Target, Michaels, Meiningers, etc. will host a selection of 16x20”, 11x14”, and 8x10” frames. It can be hard to find real wood - which I always prefer - but wood veneer or other fabricated materials can still look great. My rule of thumb is to avoid plastic, and if it’s not real wood it should at least look like real wood.
Blick’s natural gallery wood frames are decent (make sure you get the NATURAL WOOD, unless you want black), but be aware that you will need to buy the mat and glass separately.
For larger prints:
Framebridge.com does a good job and they offer a large range of sizes. Some of my favorites includes their “Marin”, cherry, and bleached maple frames.. When they ask you the “ART SIZE”, enter the print size that was listed on Etsy (eg. 16x20”), NOT the size of the paper. This will default to a frame matted to the size of your print - perfect!
If you don’t like what Framebridge has to offer or your art exceeds their size limits (30x40” I believe?)… it’s time to go the the local frame shop. They can be pricy, but it’s a great way to support a small business and most likely they’ll do a great job. Check out Mile High Framing if you’re in the Denver area. OR, check out frame builders on Etsy, or websites like PictureFrames.com.
Frame Destination is a good online resource for framing glass if you’re a stickler about using glass over acrylic/plexi like me, and your online framer only offers acrylic/plexi (eg. I believe Framebridge only offers plexi fronting. A lot of the online framers avoid glass for shipping durability/weight reasons). I linked to Frame Destination’s UV-Filter Art glass above, but they also have non-UV glass which is usually fine for prints as long as they are not going to live on a wall that gets blasted with direct sunlight.
Have a framing question that wasn’t answered here? Check out my framing FAQ.